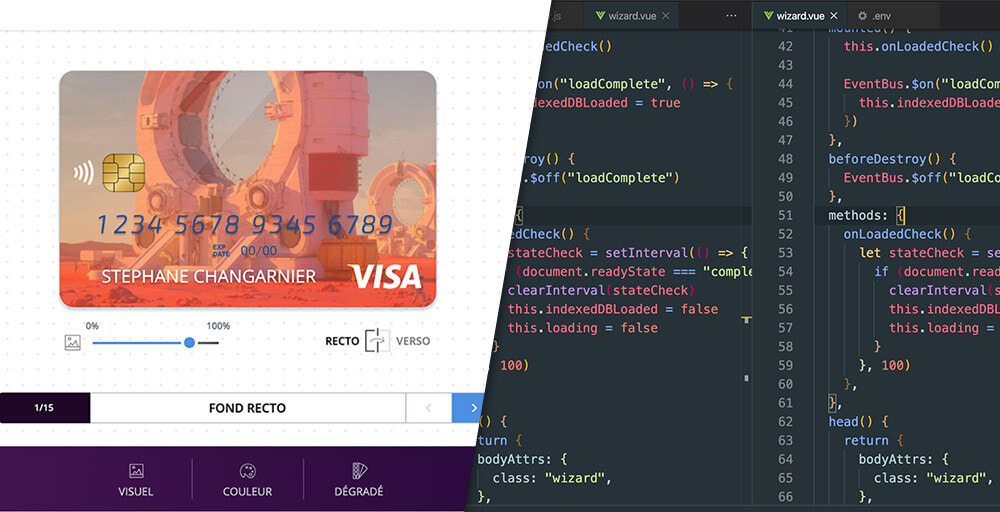
Coding a custom banking card creation tool with Nuxt
During the lockdown, and as the title speak for itself, I have started to work on a very interesting new project. it’s a multi-steps creation tool to build a customised banking card for almost every possible details.
The project is still in its creation phase, but I'll put here a demo link as soon as it's ready later.
Building the app
The tool will be used as a web app by sales representatives initally after launch. It might then be offered as a public tool with user authentication. I chose to go with Nuxt.js as it offers more versatility if I ever have to build as a SSR app, even if I’m using the SPA mode as it suits best for this kind of project.
Regarding the architecture, it’s a single route getting datas from a Vuex store initially fed with some JSONs , and updating everytime an action is done. Transitions, mutations, nothing special here.
User have to choose options such as the Visa logo position, or the stripe color to get forward.
Image handling
User also can upload a background image and set it up in the preview as he would do in photoshop. I used vue-dropzone in combination with vue-draggable-resizable to get the desired feature, 2 powerful vue package. Uploaded images are stored as base 64 strings into a JSON, but I had to optimize them before to avoid storage limitations and to have the dragging-resizing tool perform better.
To do so, I directly send the file to Cloudinary which is a well-known cloud image management plateform. I can leverage some easy transformation operations on the fly such as resizing, cropping, and getting Exif meta-datas. Once done, the served file is converted as a base64 string.
At the last build step, the user is offered to send himself an image preview of the card he just built. I explore multiple ways but the most cross-browser reliable tool I found was vue-html2canvas. This one generates a very neat image render of the DOM object passed.
Deployment & lambdas with Netlify
Regarding the hosting, I went with Netlify once again, as it's definitely getting the number one platform to easily push web apps. Levaraging the Netlify dev CLI, I now always deploy previews instead of the default publication workflow (Github continuous deployment). When I’m happy with the result, I just manually publish the deploy from the platform.
The emails sent are once again routed to Send In Blue SMTP using a Netlify lambda function. I just adapted one of the many available node function boilerplates from this repository. The greatness of Netlify function is that we can test them locally without having to deploy them. It’s out the box when we run the local server with "ntl dev" instead of "npm run dev". Deployment are done using "ntl build" then "ntl deploy".
Local storage(s)
In the future, user may save their customized card on a user account, and I will certainly go with Firestore & Firebase auth. For the time being, we just have a local storage in the browser. At first, I used the classic localStorage API, but quickly encountered errors because of the size limitation (especially in Safari) regarding the base 64 image strings. I then switched it for the indexedDB API. It’s way more powerful but also more complex to grasp, but at least, storage limitation is not a problem anymore.
Unit tests and end 2 end tests
I finally wrote my first unit tests inside a real project after having postponed it for more than a year.
It seemed to me that shipping and maintaining such a tool without testing it before release it would have been very unsafe. It was time again for a very exhaustive reading on the subject : the Testing Vue.js applications book, to catch things up in this domain. I just have a couple of tests using the Jest framework combined with Vue test utils which is the official Vue testing library. Not that difficult after all, but I still have to decide what to test beyond the obvious ones.
I also needed to test DOM elements presence outside Vue. I used Nightwatch as stated in the Edd Yerburgh’book. The setup is pretty straightforward and is satisfying for my needs, even if I heard Cypress is the today’s reference. Maybe later…
Git workflow
As a solo dev, I’m not very rigid regarding my git workflow. Some features branch here and there but I mostly do my stuff on master. When the app will go live, I realized I would need something more robust. I just embraced the Gitflow workflow as it seems simple and a very good model to deliver releases in an organized way. Now I work on a develop branch + features branch, perform a pre-commit check (thanks to Huski) running test suites on “develop”, and tag each releases after having merging and pushing from master.
Next
I learned a lot building this project and am probably half-way as I’ll have to implement user auth, PWA support, and a headless CMS to give hand to external contributors that will be able to change options. I Will probably go again with Prismic but that is another story.