Nuxt.js puzzle game development - WIP#5
This post is part of a full walkthrough of building an android app using Nuxt + Cordova
Note: this game have been published on Google Play Store in 2019, but retrieved in 2024, given the fact I didn't maintain it through evolving Android versions. You could still access the showcase page.
This post might be the second to last before the release of the Smart Prisoners game. We indeed finished to build all the game content + related features so far.
This post is a part of a miniserie where I explain my journey and what I learned through building an Android application with Nuxt.js, and wrapped with Cordova.
Google Play Console
This month, I have discovered the Google Play Console world, the last big step to be able to publish the app on Android app Store. One of the crucial feature is to be able to identify users on the app. Not a web-base authentification but the one related to the active Google account on the phone, not the same!
It was time to setup the app on the Play store, and plug it with the different Google services. After the 25$ lifetime fee, I found all the tool pretty easy to use from an UX point of view.
Release management
One of the first difficulty I had to deal with was the different type of releases and what Google require in term of file to upload. Currently there is multiple release stages (internal, closed, open, and production). We have to ship either an Android package (.apk), or and Android app bundle (.aab) which is a lighter bundle. Before we can upload it, it should be signed, so it’s a matter of using a command tool called “keytool” to generate a .keystore file. The bundle should encompass this key at build. We could do so either using CLI or with Android Studio.
Each release uploaded should have its version number incremented, which can be done in Cordova config.xml file using the "android-versionCode” attribute. Then we can rollout the release and we get a link generated, so that we can install the app through the playStore from an Android device.
I had to deal several times with Android Studio because the CLI didn’t generate a valid bundle. I think Android Studio is a real labyrinth packed with hundreds of options and menus. I really hate it, certainly due to the fact it’s not yet part of my workflow.
Debug vs release .APKs
Here is what I learned:
The debug version is what I’ve been using so far, generated straight from vscode, and directly running in my Android device. I can then inspect the app running from the google dev tool (the remote device one). Problem: it’s not suitable to run Google Play Services such as authentication.
The release version is what I’m using now everytime, except when I need in-depth debugging (mostly UI). A release version need to be signed (as explained before) and eventually need to encompass a certificate in SHA-1 as well. I generated this one using another keytool command, because it’s created from the .keystore file. We can build a release from the CLI or from Android Studio.
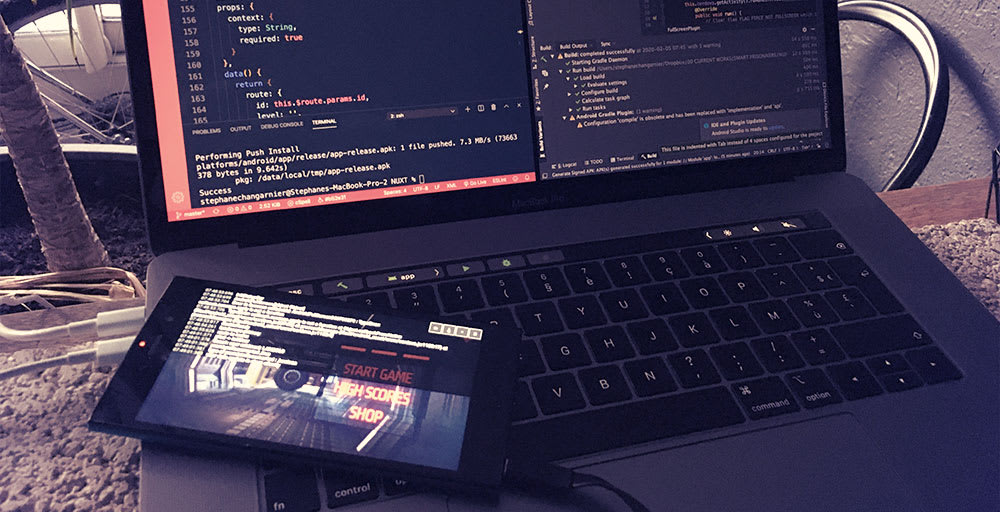
There is 2 kind of signature we can check (v1/v2), I check both to be sure. The release version is the one that is needed for Google Play upload, but we can also install a release locally just using the following command :
cd cordova && adb install -r <path to apk-release.apk>
I later discovered we could actually debug the app using the “logcat” tool but gave up because it didn’t logged my javascript console.log.
My current solution to easily watch my log on a release APK is to use the console.log viewer library, so so useful !! I will probably use it for simple we-based responsive mobile projects.
Anyhow, I find all those config steps really overcomplicated, I had a lot of headaches reading the myriad of existing Google documentations on those various topics. But I guess it’s the everyday developer job after all.
Google account authentication
To be able to identify users, I used the Google Sign-In Cordova/PhoneGap plugin.
I wouldn’t say it was straightforward because I had to figure out how to generate the "reversed client ID" which I found by generating a google-servces.json after setting-up an Android Firebase project. Once the setup is done, a google account modal popup whenever it’s called from the app, we can then choose a google account and retrieve user data from a json response. Then I can create a record in Firestore and setup a local storage, so that the player can using the app offline if wanted.
InApp purchases
To be able to purchase a product from the Playstore I used the Cordova In App purchase plugin.
First, we should create a managed product from the Google Play Console (in our case, buying a free-ad version), then setup a name, and a price. The doc is very well written. Not that hard but a long setup, and a lot of events to deal with. As with the auth feature, I process with the following flow : record in Firestore, create a local storage data, mutate the Vuex store accordingly. We should set our account as a test account to be able to test payment without paying of course.
In-game advertising
To be able to show ads in full screen during game (what is called an interstitial), I used AdMob Plugin Pro.
This feature was the easiest one to setup. First, we have to create an Admob account, get our app id + our unit ID (our ad container), and fill our data with those IDs. We can use a testing ad using a specific id, or tell the plugin we are running it in testing mode. Then we get our full screen interstitial and just have to deal with a few events (dismiss, load…) to make it working with our logic.
Next
We are entering in the testing phase for a whole month. Maybe I’ll take time to setup those damn unit tests and also end to end tests at the end! I’m a bit concerned by the mediocre performance which is due to a bad stack choice as explained in the previous #WIP, I’ll try to optimize as best as I can until release...